
Step by step screenshot of how to install ubuntu 20.04
To start with Ubuntu 20.04 installation, we need a bootable USB device
You can check how to make a bootable Pendrive. Click here.
Once the bootable Pendrive is ready, half of the work is done, only we need to install the OS using this bootable Pendrive.
Connect the Pendrive and turn on the machine, depending upon the laptop, you need to press F12 or F9 to get the boot manager, for me, it’s F12.
Turn on the laptop and keep tapping F12 to get the boot manager. As per image -1
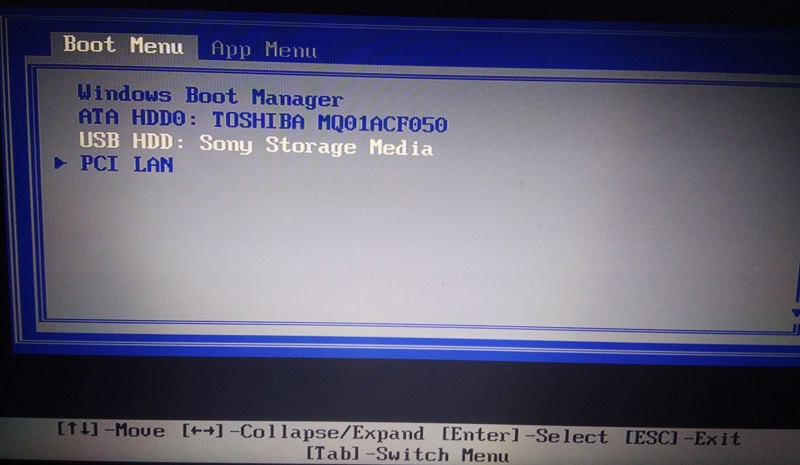
#Boot manager image
After booting from Pendrive, it will run a disk check. As per image – 2
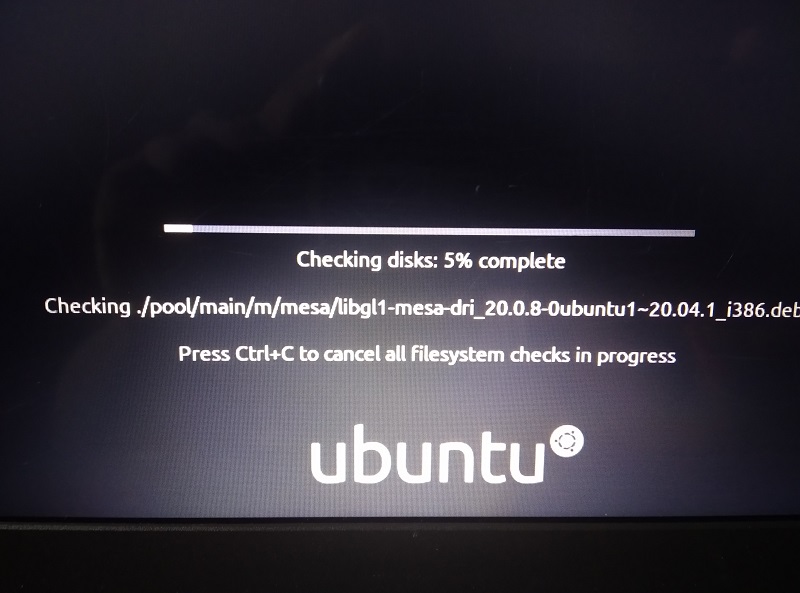
#Disk check image
Click and select install ubuntu. As per image -3
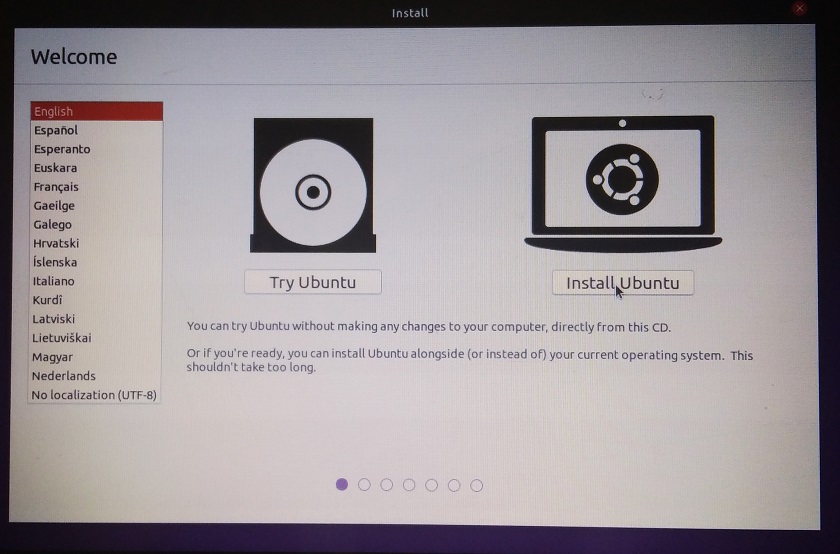
#Install ubuntu
Select Keyboard layout. As per image – 4
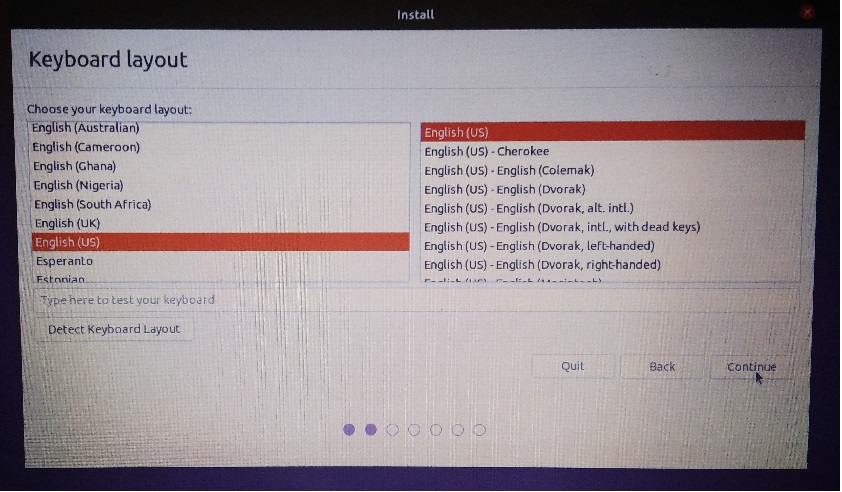
#Keyboard layout
You can either connect to wireless on this page or leave it and click continue. As per image – 5

#Connect to wireless
Select Normal installation. As per image – 6
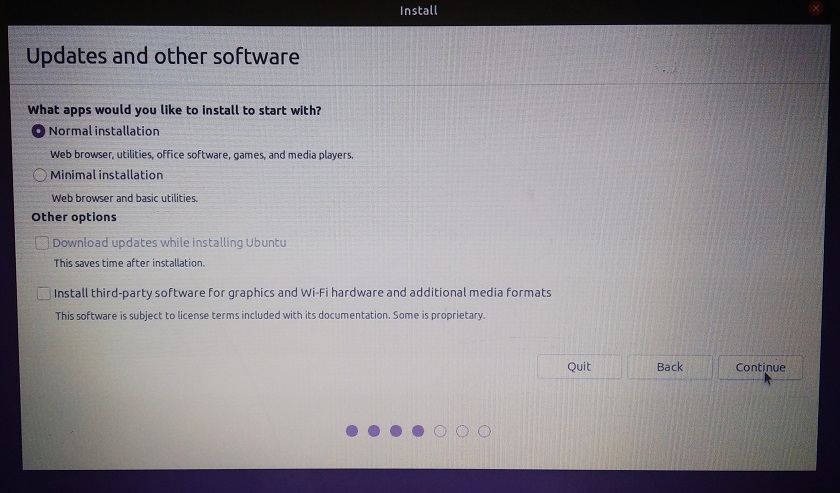
#Normal installation
Select installation type as Erase disk and install ubuntu. As per image – 7
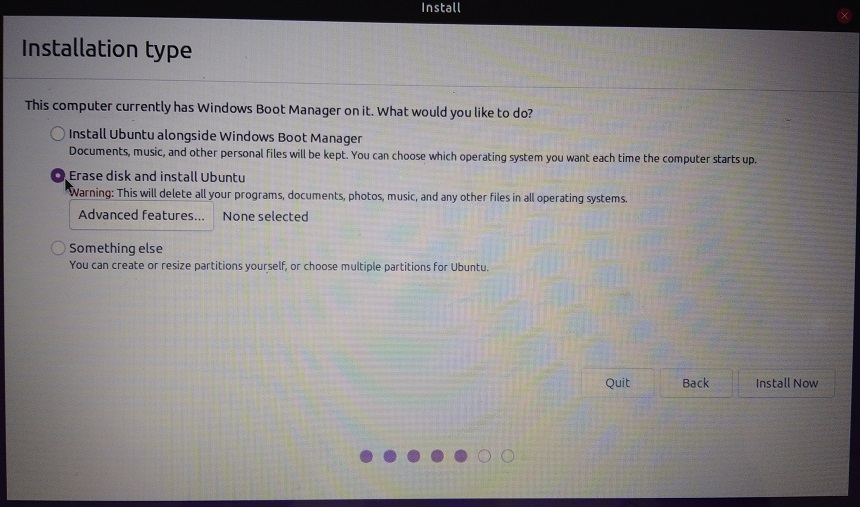
#Installation type
Click continue write changes to disk. As per image – 8

#Write to disk
Select region. As per image – 9
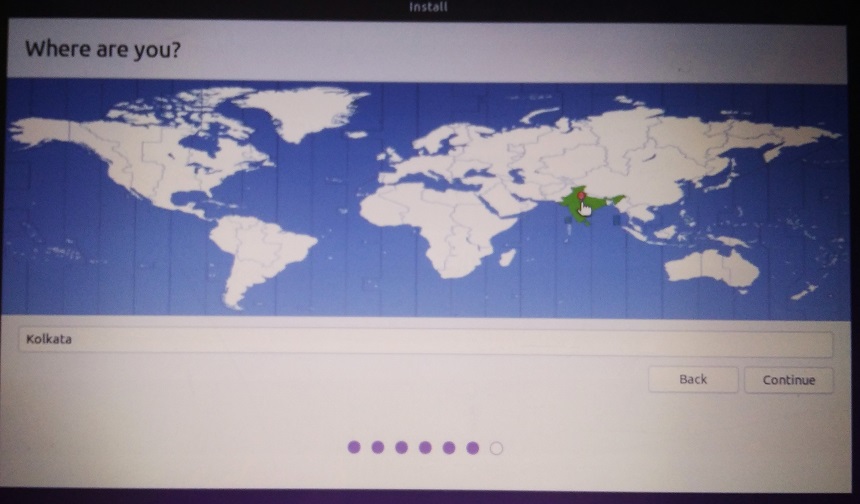
#Select region
Now put user name and password and click continue. As per image – 10
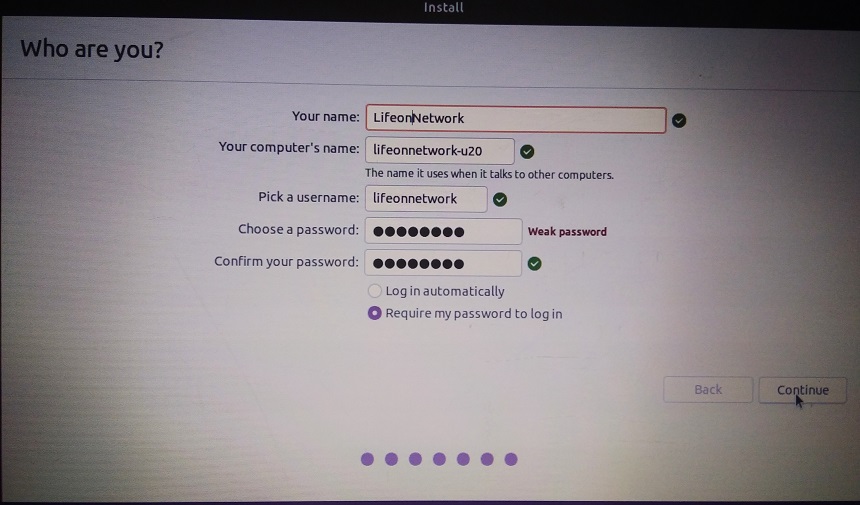
#Create a user name
You will prompt a page once the installation finish, Click restart now. As per image – 11
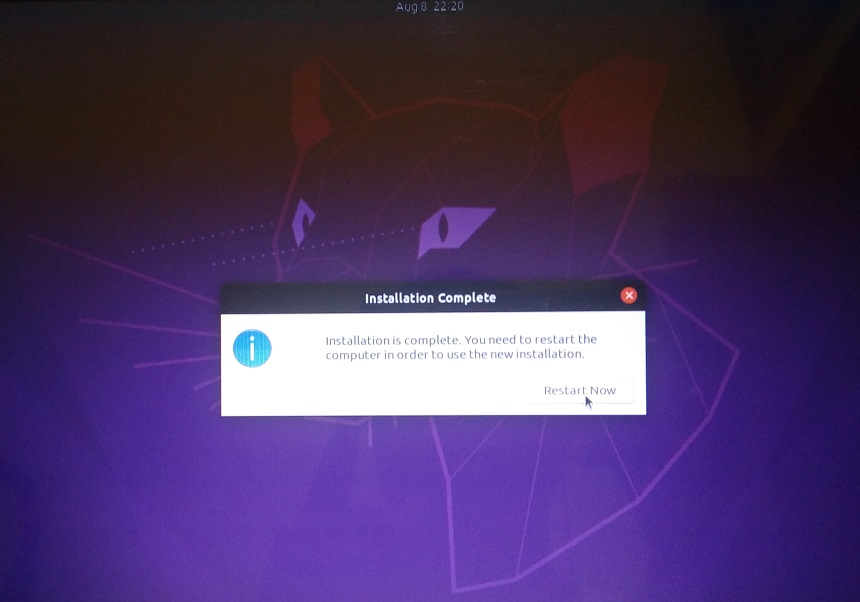
#Restart to finish installation
You will prompt to eject usb media, as per image -12
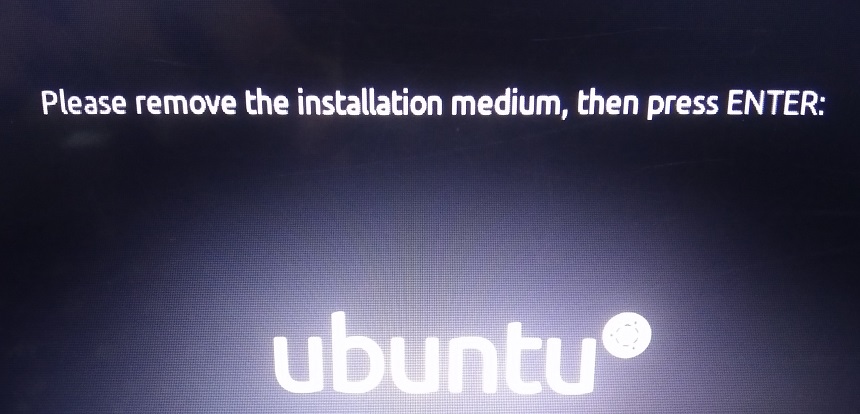
#Eject media
After restart, you will get the login screen, put password and get in, as per image -13
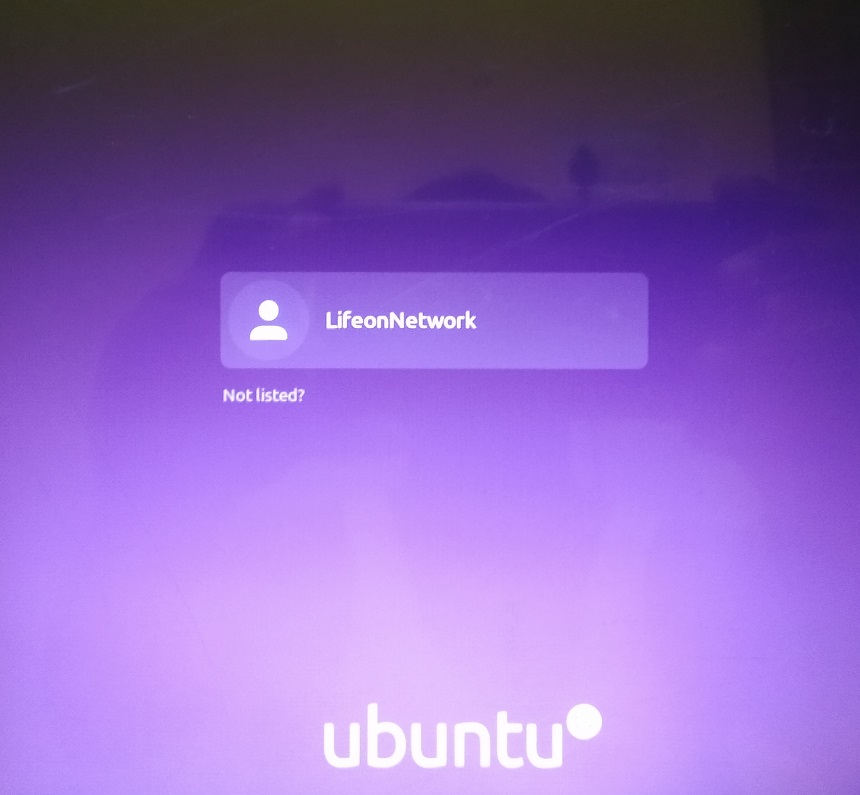
#Login screen
After that first thing first to run update and dist-upgrade to install all latest available updates, as per image – 14
sudo apt update
sudo apt dist-upgrade -y
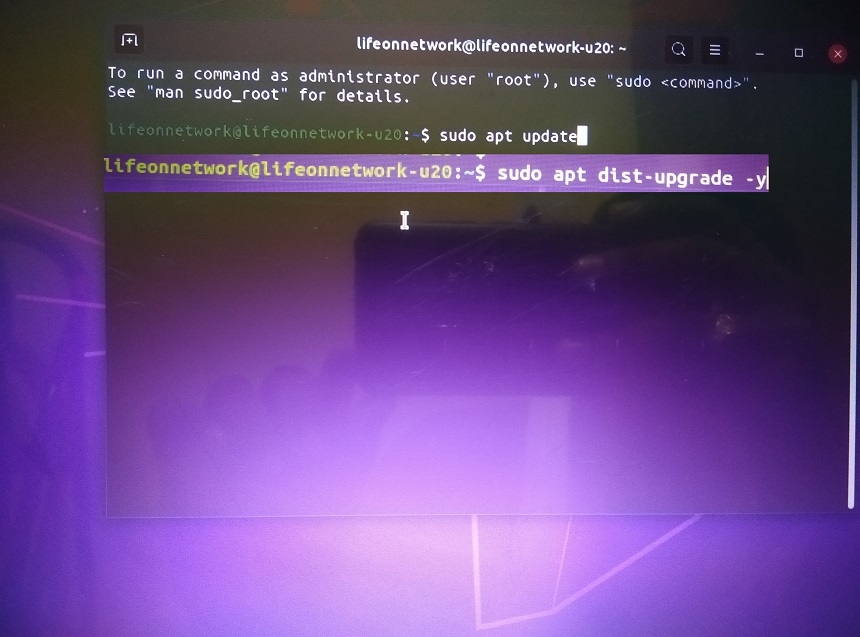
#Install updates
After installing after all updates, do restart the machine and the above is the step by step screenshot of how to install ubuntu 20.04.